
How to make your own polytunnel
There’s never been anything more satisfying than sowing vegetables, harvesting them and bringing them to the table. Whether it’s growing vegetables in containers on the windowsill, in a small polytunnel or in an indoor vegetable garden, home produce is satisfying, tasty and impressive. Here’s how to do it polytunnel style!
Why should I get a polytunnel?
Whilst a greenhouse is more attractive than a polytunnel, it is also more expensive. Polytunnels have therefore really grown in popularity in the last few years. Not only are they cheaper, but they can be built quite easily.
Is there anything I should consider?
Lots, but don’t worry we’ve broken it down for you:
i) Doors – When growing organic produce, ventilation is very important, so make sure your doors are as big as possible, as this is often the only means of ventilation.
ii) Space – Make sure the tunnel is as big as possible and fairly tall, as this will not only mean you won’t have to bend, but also helps your plants grow nice and tall.
iii) Ventilation – Think about where the sun shines. Anybody who has been in a greenhouse or polytunnel knows just how hot they can get. Use shading paints on glass panes to ensure your polytunnel doesn’t overheat. Remember that proper ventilation is crucial.
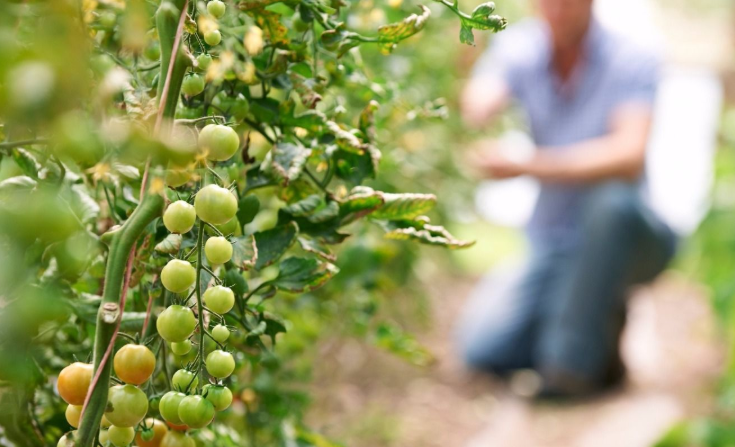
iv) Support – Crop supports are horizontal bars above head height. They help to train climbing plants, such as cucumbers, climbing beans or tomatoes, up a string that is attached to an overhead wire. See, height really does matter!
v) Covers – Investing in an expensive polythene cover will help with light transmission, heat retention and when put on properly and tight, can last up to 7 years. However, don’t forget to wash the cover every year so as not to reduce the light transmission.
What and when can I grow in a polytunnel?
Indoor space is fantastic, as it means you can grow between five and six crops each year, instead of just one or two when outdoors.
i) Late January – Chitted potatoes
ii) April/May – Potatoes, plant lettuce and scallions
iii) June – Lettuce, scallions and plant celery
iv) August – Celery and spinach
v) September – Spinach and oriental salad
How do I grow my crops?
Growbags and pots can be restrictive to plant roots and mean you end up watering and feeding the plants a lot. Opt for beds with improved soil, but if you can’t afford this, wet soil will work just as well, but remember to water more frequently.
How do I manage my polytunnel?
It’s a good thing you asked. Below are some helpful tips to keep tour crops healthy and strong:
i) Water – It’s essential to have a good, reliable water supply. Whilst rainwater can be collected in a greenhouse, it can’t in a polytunnel. Make sure your soil is kept moist, not too dry and not too wet.
ii) You can water by hand, or use a drip and trickle irrigation or sprinkler system.
iii) Water once a week during early spring and autumn, twice in mid spring and late summer, and two to three times during late spring and summer.
What other benefits are there to polytunnels?
As you are able to grow many more crops inside a polytunnel, it means you can include a vegetable patch outside in your garden, as well as use your windowsills for other plants.
Have I missed anything?
– Remove dead plants and debris as soon as you notice them to reduce pests and diseases.
– Keep the polytunnel hygienic by cleaning the plastic inside and out using hot soapy water and wash all modular trays and pots.
For lots more tips on how to grow vegetables, read: Vegetables and Herbs for the Greenhouse and Polytunnel (Robinson) by Klaus Laitenberger.